Stitch Library
Try some essential stitches used in my patterns with this quick guide.
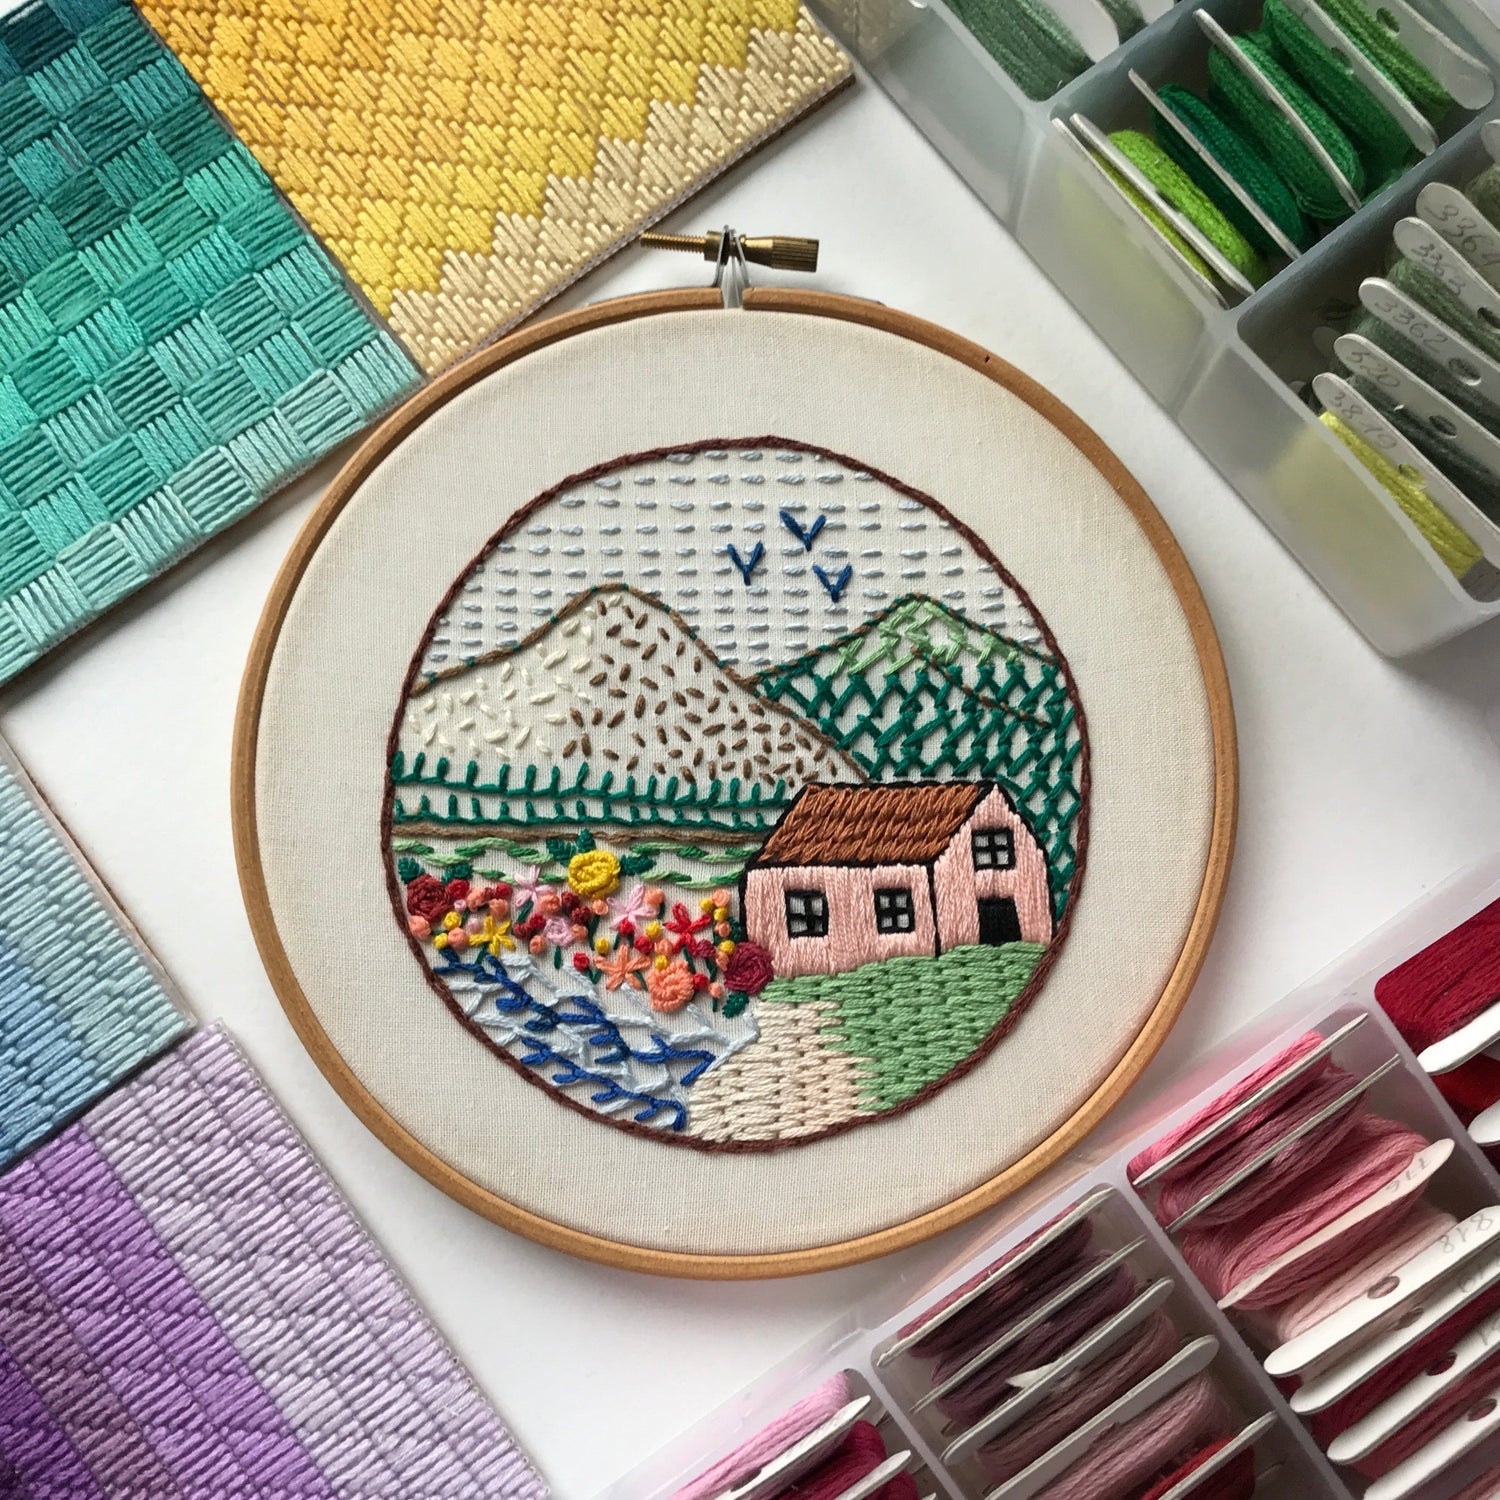
Every pattern includes a stitch guide with a video tutorial for every stitch used. This page is made to give you an insight into some of the most common hand embroidery stitches.
Basic Stitches
Straight stitch
The staple of the craft. So simple, but can be so powerful!
A straight stitch is the simplest embroidery stitch. It’s great for outlining,adding texture, or stitching small details. It’s just a single stitch that goes in and out of the fabric in a straight line.
How to Make a Straight Stitch:
- Bring the needle up from underneath the fabric and pull it all the way through.
- Decide on the stitch length: 3–5 mm for small details, longer for a looser look.
- Insert the needle back down into the fabric at the chosen length.
- Pull the thread through completely: this is your straight stitch.

Backstitch
Perfect for outlines and fine details. Creates a solid, continuous line, often used for lettering.
How to Make a Backstitch:
- Bring the needle up from underneath the fabric at your starting point.
- Make a small stitch forward (3–5 mm) and insert the needle back down.
- Bring the needle up again a stitch length ahead of the last exit point.
- Insert the needle back down into the end of the previous stitch, into the same hole, closing the gap and creating a connected line.
- Repeat to continue stitching, keeping each stitch the same length for a smooth line.

Running Stitch
The simplest stitch, ideal for borders and basic lines.
How to Make a Running Stitch:
- Bring the needle up from underneath the fabric at the starting point.
- Insert the needle back down a short distance ahead, creating the first stitch.
- Bring the needle up again after leaving a small gap, keeping the spacing even.
- Repeat the process, making a continuous row of evenly spaced stitches.
Tip: You can take multiple stitches at once by weaving the needle throughthe fabric before pulling the thread through—this makes the stitching processfaster!

Satin Stitch
Creates smooth, filled areas with parallel stitches placed closely together.
How to Make a Satin Stitch:
- Bring the needle up at one edge of the shape.
- Insert the needle back down on the opposite edge, creating a long, straight stitch.
- Bring the needle up again, right next to the first stitch, and repeat - always working from one side to the other.
- Keep stitches close together, making sure they lie flat without overlapping or leaving gaps.
- Continue filling the shape, adjusting tension so the stitches stay smooth and even.
Tip: If your shape is large, try splitting it into sections with guiding stitches before filling it in. This helps keep everything aligned and prevents distortion.

Decorative Stitches
French Knot
Adds texture and dimension, perfect for flower centers and decorative details.
How to Make a French Knot:
- Bring the needle up from underneath the fabric at the point where you want the knot.
- Hold the thread taut with your non-dominant hand.
- Wrap the thread around the needle 1–3 times (1 for a small knot, 2–3 for a larger one).
- Insert the needle back down very close to the original point (but not in the exact same hole to prevent the knot from slipping through).
- Pull the working thread so the knot tightens and sits on the fabric.
- Slowly pull the needle through, keeping tension on the thread as you godown.
Tip: If your knot pulls through or gets loose, try wrapping the thread more tightly around the needle or placing the needle further away from the original hole when inserting it back.

Chain Stitch
Forms a linked chain effect, great for borders and curved lines.
How to Make a Chain Stitch:
- Bring the needle up from underneath the fabric at your starting point.
- Insert the needle back down in the same spot (or very close to it) to form aloop. Leave the loop on the surface.
- Bring the needle back up a short distance ahead, inside the loop, andgently pull the thread until the loop lies flat against the fabric.
- Repeat by inserting the needle back down at the same point as the laststitch and bringing it up again inside the new loop.
- To finish the chain, make a tiny couching stitch over the last loop to secureit.

Lazy Daisy (detached chain stitch)
Creates petal shapes, ideal for flowers and leaves.
How to Make a Lazy Daisy:
- Bring the needle up and down into the same hole, leave a loop.
- Bring the needle up inside the loop and go back down into the same hole, wrapping the loop. That's your stitch.
- Make a few of them coming out from the center as a flower petals, and you've got a flower!

Filling Stitches
Long and Short Stitch
Creates smooth color transitions and realistic shading effects.
How to Make a Long and Short Stitch:
- Bring the needle up at the starting point.
- Make a long stitch by inserting the needle back down at the opposite edge of the shape. Or in the direction of the opposite edge if the shape is big.
- Next, make a shorter stitch beside it, alternating lengths as you go.
- Fill the first row with these long and short stitches, keeping them closetogether.
- Start the second row by bringing the needle up between the stitches of the first row, filling gaps, and blending the rows together.
- Repeat for additional layers, adjusting stitch lengths and colors according to the pattern for smooth shading.
Tip: Work in small sections and keep stitches close together or split the previous row for a seamless effect.

Seed Stitch
Random small stitches that create texture and fill areas loosely.
How to Make a Seed Stitch:
- Bring the needle up from underneath the fabric.
- Make a small, straight stitch (3–5 mm long), then insert the needle backdown.
- Bring the needle up again a little distance away, in a different direction.
- Repeat the process, scattering stitches randomly or in a controlled pattern.
Tip: Keep stitches in different directions and at varying distances to create a natural, organic look. If you want a more structured and full fill, place stitches evenly, close, and keep them similar in length.

Each of my patterns includes stitches with video tutorials or diagrams. No worries if it's your first project - you've got help!
Check out my patterns
-

Beginner Embroidery Patterns
Start here. Simple outlines, a small stitch set, and quick wins to...


